Over time, the plastic in your headlights can age and become cloudy. If your headlights aren’t as bright as they used to be, here’s how to fix it.
Every product we review is carefully selected by editors who love tech. If you buy through links, we may earn a commission. Why trust us?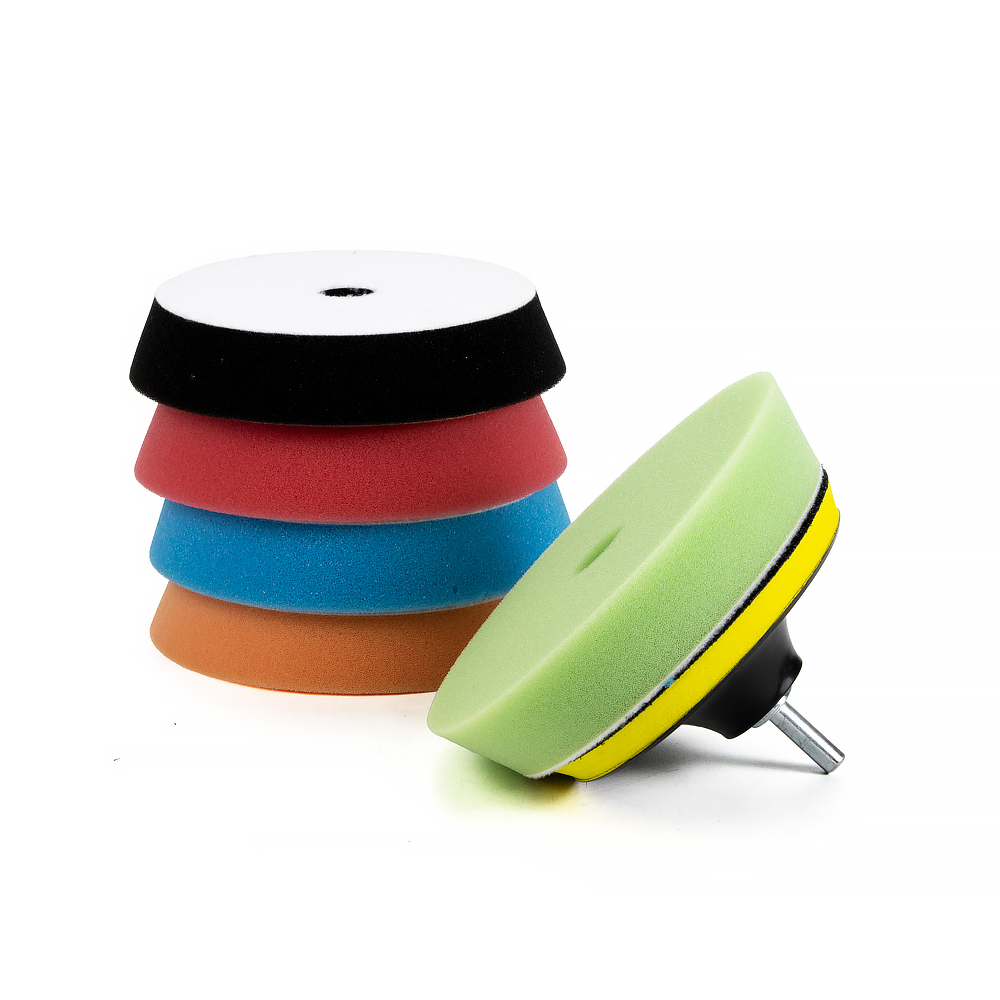
Headlights are a vital part of your car and should be kept clean. These powerful beams not only allow you to see the road, but also allow other drivers to see you.
Most headlight lenses are made of polycarbonate plastic. This durable plastic is great for use in adverse road conditions without cracking, which is definitely what you want, but it does not perform well in the sun. To initially protect the lenses, manufacturers coat them with a UV protective coating. However, over time, this film can be damaged by UV rays, causing the plastic to oxidize.
If your headlights are starting to fog up or turn yellow, then it’s clear that oxidation has begun. But don’t worry, because giving your headlights a brand-new look is actually quite simple, and you can do it yourself. Follow the steps below to repair your headlights, and your night vision will be back to factory quality in no time.
First, make sure you have all the tools you need. The easiest way is to buy a headlight restoration kit, which includes all the materials you need. We just tested several of the most popular kits on the market to help you decide which one will work best for you. (They work pretty much the same, as we’ll explain below.)
You can also buy the items in the box individually, which is handy for those who already have some of the parts. Basically, you’ll need a few sheets of wet and dry sandpaper in different grits (1000, 2000, and 3000 grit are usually safe choices), polishing compound, polishing wax, and UV sealer. A roll of blue painter’s tape and a microfiber towel should also be on your shopping list.
The first step is to thoroughly clean the headlight lenses with car wash fluid and water. You may need to clean the surrounding area a little to ensure the tape will stick in the next step.
In a moment, you will begin sanding, and it is important to sand only the lens, not the surrounding paint or trim. So completely cover the headlights with masking tape to protect the rest of the car body. If you slip and accidentally rub the masking tape with coarse sandpaper, you will be glad you took the time.
Welcome to the final step. Whether you buy a kit or materials, the sanding process is the same.
To begin, you will need to select the most abrasive sandpaper you have on hand. For example, if you followed our recommendations and selected 1000, 2000, and 3000 grit sandpaper, select 1000 grit sandpaper (the lower the grit, the more abrasive). Wet the sandpaper and the surface of the headlight, then sand the headlight lens using straight, even strokes. Always sand in the same direction when sanding the first pass. Make sure to keep the surface wet while sanding, otherwise the lens may be badly scratched due to the buildup of abrasive particles. The final result will depend on how well you sand the surface at this stage, so don’t worry about spending 5-10 minutes on this step.
Repeat this process with a less abrasive sandpaper (we started with 2000 grit, then moved up to 3000), making sure to clean the lens before each use of a finer grit paper. The only difference between the two sanding methods is the direction of sanding. Since the first piece of sandpaper was used horizontally, the next time the headlights will need to be sanded at an angle. The final sanding should be done in the opposite direction of the previous sanding. Take your time and make sure both the sandpaper and the lens are wet. In this case, using a hose or sprayer may be more effective.
Now it’s time to show off the fruits of your hard work. Wipe and dry your headlights, then squeeze some polish onto a clean microfiber towel. Rub in a circular motion for a few minutes to allow the polish to soak in. If you have an orbital polisher and know how to use it, you can make this process much quicker (but don’t buy one specifically for this purpose unless you plan on using it in the future). Once the lens is clear again, you’re ready to apply the polishing wax. Rub the wax onto the lens the same way you would clean your car. This will thoroughly clean and protect the lens, preparing it for the final step.
You will need to apply a UV sealant to your headlights because sanding has removed all of the old oxidized sealant. If you skip this step, all of your hard work will be for nothing because the sealant is a protective layer that prevents the lenses from fogging up again.
At this point, you will need to dampen a paper towel and then apply the sealant using a generous, spreading motion. Full coverage is key, but always read the instructions for the tools you purchase. A general rule is to only apply one coat of sealant unless the instructions state otherwise. Once applied, leave the car in a dry place to allow the sealant to cure. Whatever repair tool you choose, you will get the best results by following the instructions carefully.
If you have followed all of these steps and still do not see any noticeable improvement, it may be time to resurface. However, some lenses may be too worn and require professional help or complete replacement.
Zach Palmer has been a car enthusiast since he knew what a car was, and has no plans to change his hobby anytime soon.
Post time: Apr-23-2025